Embedding Multiple Tests in One Android App

In the first part, we created an Android app that allowed us to test ourselves based on question/answer pairs stored in an XML resource file. In this part, we will expand on this by creating a new app that will allow us to launch multiple tests from within the same app by using a ListView as the main screen. Once we select the test we would like to use in the ListView, the app that we created in Part 1 is launched with the appropriate question/answer pair loaded as our test data. We want to be able to get to the point where we can launch our app from a screen that looks like this one:

Creating the Test Listing Screen

  1. Go to New->Android Application Project and create a new project called ListViewExample (click through to accept all defaults).

  2. We will programmatically create our ListView in the MainActivity.java file. We'll start by creating an array of three strings that will be the contents of the list view and then display them in the ListView. Modify the class declaration as follows and add the following to your onCreate method:

  3. You will also need to add the following import statements to the top of the MainActivity.java file to support what we will be doing in this section

  4. To change the application name bring up the res\values\strings.xml file and change the app_name to the application name that you wish to have displayed.

  5. Now try to run your app to make sure that the test list is displayed properly

  6. The next step will be to add an event-handling method to field clicks on the three list items. Add the following method to MainActivity.java.Try running the app again and see if you get an indicator when you have clicked on a list item.

  7. Now we have to consider how we will integrate our tests into our new app. We will need a new activity for the test that we created in part 1. The difference is that the test will no longer be the main activity, so we will have to create a new activity using the New Activity Wizard Button located under the File menu in Eclipse.

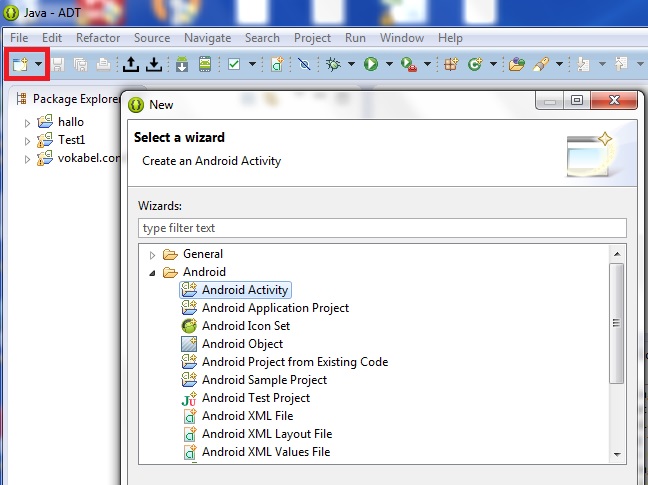
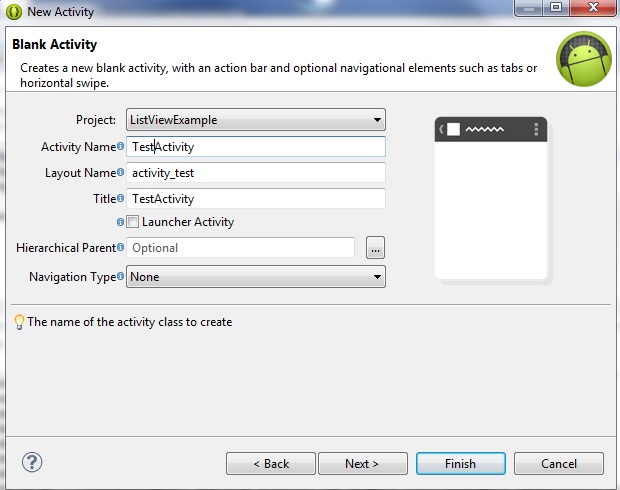
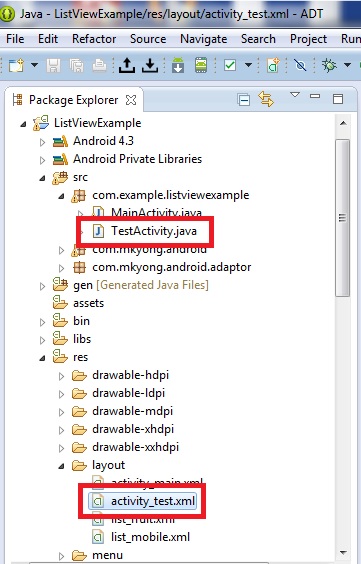
    Proceed through the screens and name the activity TestActivity

  8. You'll notice that Activity Wizard automatically creates not only a .java activity file but also a .xml layout file. First we will copy the code from the MainActivity.java file that we created in part 1 into the TestActivity.java file that we just created. Once you have pasted the code into TestActivity.java, change the line: package com.example.vokabel.comtest1; to package com.example.listviewexample;. Next change the line: public class MainActivity extends Activity { to public class TestActivity extends Activity {.

  9. Copy the code from the res\layout\main_activity.xml file that we created in Part 1 into the res\layout\test_activity.xml file that we just created. Replace the line: tools:context=".MainActivity" > with tools:context=".TestActivity" >
  10. Copy all of the files in the res\values folder that you created from Part 1 into the res\values folder of the current project
  11. In res\values\strings.xml change the app_name to Android test app
  12. In the AndroidManifest.xml file, change/ensure that the android_label is set to: android:label="@string/app_name"
  13. Now run your project to make sure that all of the copy/pasting and modifications that we just did worked. (You won't see the tests yet when clicking).
  14. We are now ready to begin the last part of the implementation which will require that we have 3 tests to access. To make things simple, let's put all 3 of the tests into the res\values\questions.xml file. My questions.xml file looks like this:

  15. Next we will modify the behaviour experienced when a user clicks on a test in the listview to bring up one of our tests that we created in part 1. Modify the onListItemClick method to check which Test was clicked by position in the list and launch the test that we create in Part 1 and which we have made the TestActivity class in this section.

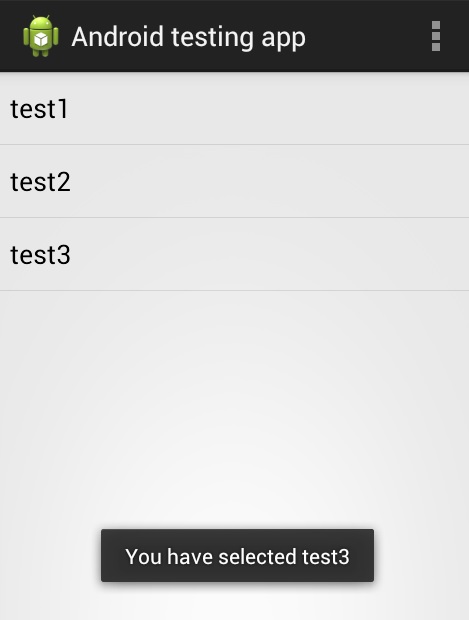
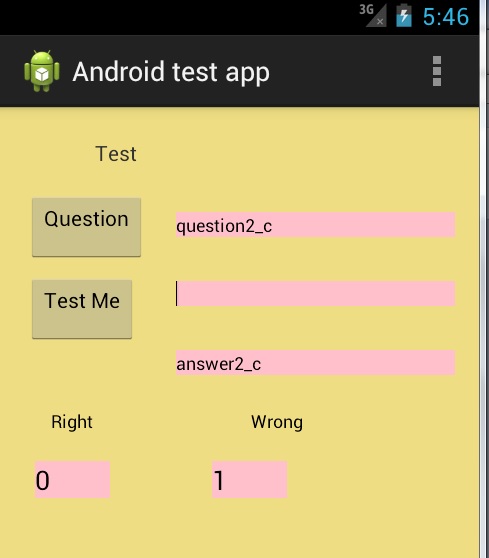
    Notice that we are also passing the test number to the TestActivity instance so that it knows which string_arrays to look into for test questions and answers.

  16. add the following code to the TestActivity.java onCreate method so that it knows what to do with the test ID that it has received:

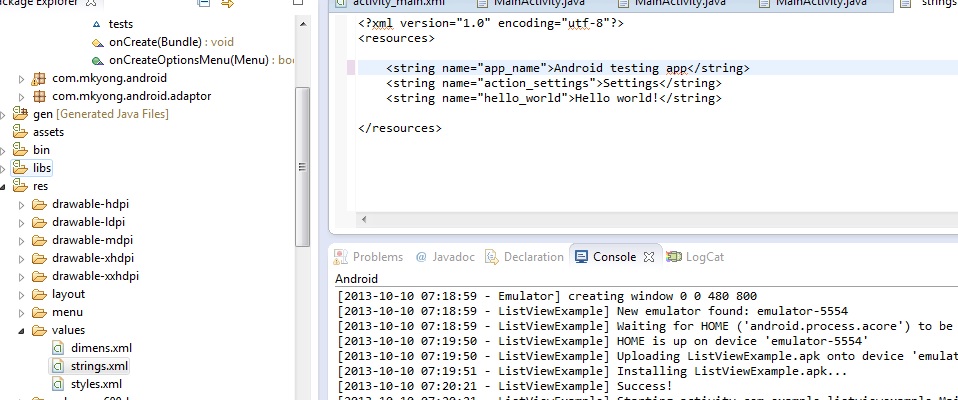
    Make sure that you have declared any new variables:

    Also ensure that you have changed the line to load the correct content view:

    For simplicity sake, here is the complete TestActivity.java file

  17. You should now be able to run one of the 3 tests based on which item you clicked on in the ListView

    By: Rene Kondratzky